
Like any plant, cannabis increases in size as it grows, which means that it should be moved to a more appropriate pot where its roots can spread wide. While small pots are suitable for planting seeds, they are no longer suitable when the plants grow bigger. If you leave them as they are, you won’t achieve the desired yield because it will cause stunted growth. In other words, transplanting, along with proper lighting and soil, helps create an optimal environment for plants to grow strong and healthy.
However, this task is not as straightforward as you may think. There are tricks and rules that inexperienced growers should master to ensure optimal conditions for cannabis in-door growth. You need to know when to transplant weed seedlings, how to do it correctly, and what things to avoid. Let’s dig deeper into these topics.
Background Information
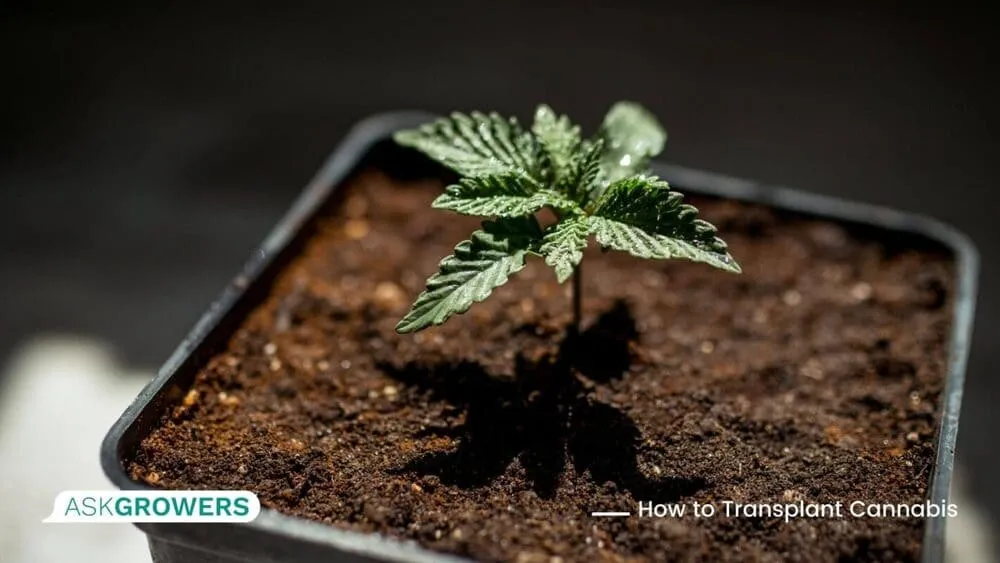
So, imagine you planted your seeds and wait for them to germinate. When the plant appears above the soil, it quickly grows and develops leaves. It is a crucial period because you need to allow the plant to strengthen while also ensuring that it does not become rootbound. So, when is the best time to transplant cannabis? Transplanting usually occurs four to eight weeks after seeds germinate. There are cues to help you determine the right time:
- Usually, your cannabis plants sprout four to five sets of leaves by the time they are ready to be transferred to a bigger pot.
- You can also see the roots growing out of the holes at the bottom of the pot. This sign indicates that the root system is suffocating and needs more space.
- The plant has changed its color (e.g., it may become darker), which means it has become rootbound.
Perfect timing is crucial here. If you transplant your plants too early, they may not adjust to the sudden change in the environment and die. While one transplantation is often enough, you may repeat the procedure two or three times, depending on how big you want marijuana to grow.
Cloning is another popular way of growing cannabis. It is an efficient, fast, and cheap method of growing buds for home use. If you grow cannabis from clones, you need to know when to transplant cannabis clones to larger pots. Don’t worry! The rules here are the same as for the seed growing. As soon as you see the roots coming out of the holes at the pot bottom, it’s time to give your plant more space.
Transplanting Cannabis: Steps to Follow
Want more details on how to transplant cannabis plant? We’ve created a concise step-by-step guide for you.
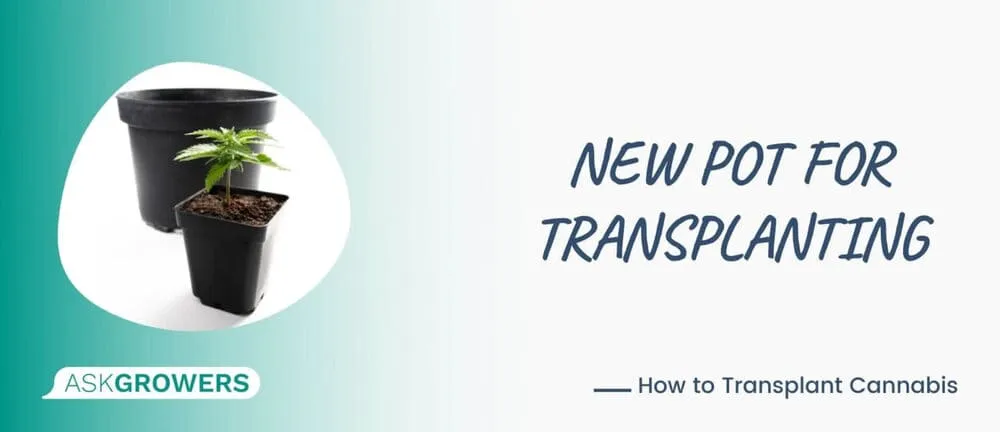
Choose New Pots
Your fast-growing plants need much space, so the golden rule is to double the space of previous containers. For example, you can switch from 1-gallon pots to 2-gallon ones. Typically, cannabis grown indoors needs a 5-gallon container, but you can choose slightly bigger options just in case. In this way, you will eliminate the necessity of second transplantation.
Add High-Quality Soil
Fill in the new pots with soil, leaving enough space for the rooting system to fit in. You can determine how much space you need by putting the old container with the plant into a new one.
Prepare the Plant
Next, make sure everything’s ready for transplantation. You need to water cannabis and allow the soil to try a bit at this stage. Soil that is too wet is heavy, and it can weigh the root system down and damage it when you remove the plant from the container.
Transplantation
This is the most challenging stage, so be careful. Take the container in your hands and place one hand over the top, with the stem being between your fingers. Turn it upside down and let the roots tangled with soil slip out of the container. Don’t shake the pot – let gravity do the work for you. Sometimes, the root system may get damaged. Don’t panic! A healthy plant has enough strength to recover if you take proper care of it and create an optimal environment.
Place the plant into the new container and add soil as needed. Gently press the soil with your hands to ensure that the root system is inserted firmly. Water the plant to help it recover quickly.
Avoiding Transplant Shock
Transplanting is a traumatic experience for all plants, including cannabis, so you need to pay extra attention and be very gentle. Roots are very fragile and can easily be broken or torn apart by clumsy hands. So, you need to minimize disturbance to the rooting system by transplanting the plants quickly. Never leave them outside of the pot for too long, as the roots need constant contact with the soil to provide the plant with water and nutrients. Otherwise, your precious plants will dry out.
Unfortunately, transplanting sometimes causes a problem dubbed a transplanting shock. Marijuana transplant shock symptoms include the following:
- Leaves change color from green to yellow.
- Stunted growth.
- Leaves may start to droop.
If you notice these signs of transplant shock weed, leave the plant alone for a while. Make sure the lighting and temperature and comfortable to avoid additional stress. Sometimes, all it needs is some time to get used to the set setting.
Researchers note that the transplant-shock endurance of cannabis largely depends on well-developed roots that can support the plant, absorb adequate nutrients and water, and withstand environmental changes. So, check whether your plant is healthy and robust before initiating transplantation.
Conclusion
Moving small cannabis plants into larger containers is time-consuming and requires patience. However, if you do everything right, you can avoid transplant shock and achieve an excellent harvest.