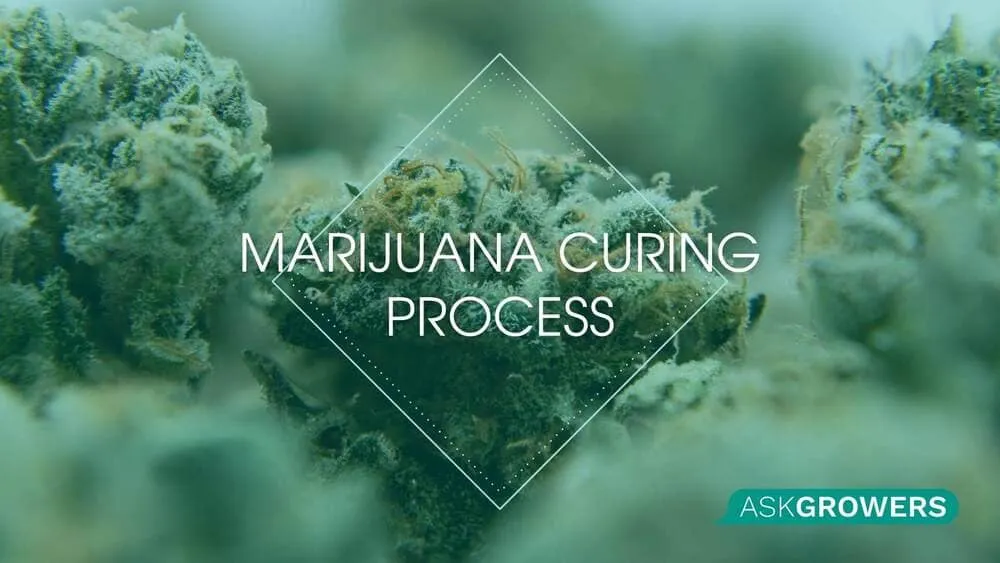

Curing refers to the last phase of drying cannabis, a process whose aim is to equalize the moisture content and help the plant better preserve its psychoactive properties. The main reason cannabis is dried after harvest is to preserve its quality. The curing process enables the plant to better preserve the smells, tastes, and effects it produces.
Most new growers believe that the growing process ends once they slice off a part of their crop. But there’s a lot more to do it right; drying and curing are equally important for cultivating psychoactive buds with high THC concentrations. Despite differences between Indica, Sativa, and hybrid strains, one thing remains the same: drying slows down the degradation of cannabinoids which occur when leaves come in contact with air. This leads us to the subject of this article: how do you cure your weed properly from beginning to end?
The Essence of the Curing Process
Every grower knows that they must dry the crop properly to preserve all its qualities. Though the proper drying process manages to rid the inflorescences of undesirable elements, other conditions may still cause the buds to wilt. So, what does curing weed do?
- Curing the crop will remove excess water after harvest, and it can be safely stored for up to one year without loss of quality or effect;
- The curing of marijuana, the remnants of chlorophyll disintegrate, and the final product gets a cleaner and more pleasant flavor and aromatic profile;
- High-quality curing of cannabis eliminates salt residues, which can negatively affect the taste and cause allergic reactions in the smoker.
The curing process for hemp buds includes the following basic conditions:
- The ambient air temperature must be 41-69,8 °F;
- The ideal humidity for curing weed is within 30-50%;
- The process is carried out with limited access to oxygen and light.
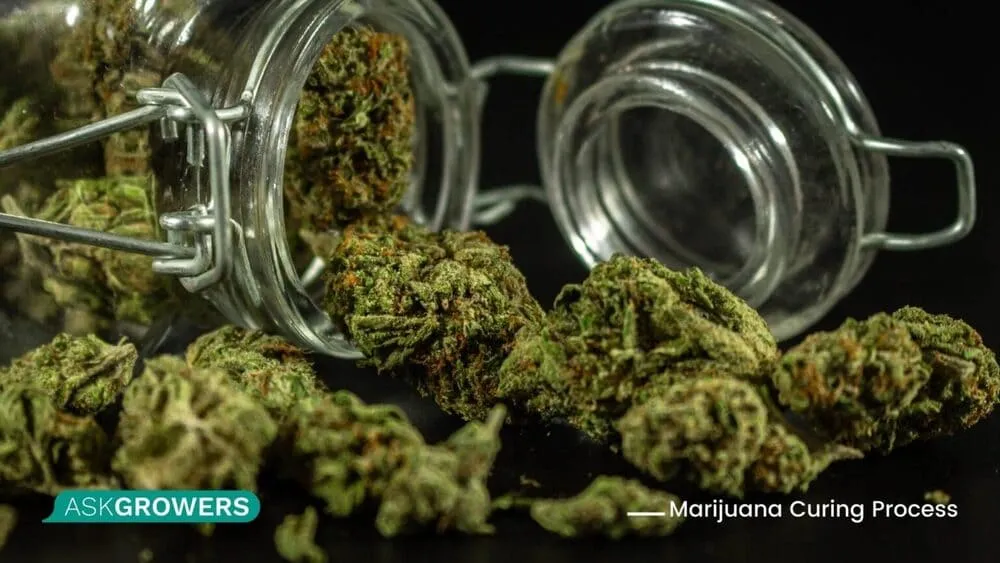
First things first, you need to decide what containers you will use while curing your cannabis. The best-fit are glass jars. Glass has a number of advantages:
- It does not absorb the smell;
- It does not react with the stored substance;
- It does not give weed extra odors and aromas;
- It allows you to always control the process that takes place in jars due to its transparency.
Step-By-Step Instructions for Curing Cannabis
How long to cure marijuana? Depending on the strain of cannabis that is about to undergo curing, you may want to cure it for different lengths of time. After two to four weeks, your cannabis should be cured enough that you will enjoy its flavor, aroma, and potency. However, some growers prefer curing for four to eight weeks, claiming that it creates a more mellow smoke.
Here is a step-by-step curing method that you can use as it is. However, feel free to change and adapt it depending on what works best for you. However, this approach is certainly the most optimal one: it allows you to achieve both a good taste and aroma of your final product.
Step One
Place weed buds in the curing containers. The ideal option is 0.26 gal glass jars with a wide mouth. They should be tightly tightened with an iron lid. It’s common for about 30 grams of buds to fit in such a jar. Buy a few jars more in advance. Firstly, to have a spare capacity, given the fragility of the glass, will never be superfluous. Secondly, it will be useful in the next steps. Buds should fill the jar at 80-90%, leaving a little air. In any case, do not press them. It is important to remember that trichomes found in buds are delicate and should be handled with care.
Step Two
Close the jars tightly and leave them in a dark room, at room temperature. To measure the humidity, place one or several hygrometers in a clear jar and put them where you think they are most likely to get accurate information. This will allow you to monitor conditions inside the jars without opening them.
Step Three
Keep jars at room temperature for 1-2 weeks. Open the jars two times a day, every day, and check on your cannabis. Watch closely for the moisture of buds and inspect them for the presence of mold (it looks like a white web). At this stage, you will need a spare jar to place the content of the previous jar in it. You can leave buds in jars for the entire curing process, but it’s a good idea to replace the jars every few weeks so you can more easily combat mold. It’s also nice to mix up the buds regularly so that they dry evenly and are evenly exposed to the air inside the jars.
Step Four
When the humidity in the banks more or less stabilizes, move them to the refrigerator for 2-3 weeks. Lowering the temperature of cannabis will improve the taste of your stash, causing it to lose undesirable flavors and enhancing its aroma. Throughout the storage in the refrigerator, do not forget to repeat the third step of the instructions.
Step Five
The final step in curing weed is to freeze it for a week. Only proceed to this step when you are sure that the humidity in the jars has stabilized. In the freezer, buds will cure and no longer taste like leaves or stems. Experienced growers have noted that cannabis, left to cure in the freezer, takes on a more emotional quality. After this step, buds can be considered cured.
Conclusion
The last stage of drying marijuana buds is called curing. It is during this stage that moisture residues and other substances are removed from the buds, which helps preserve the plants’ flavor. To carry out the procedure properly, you need to learn a step-by-step guide and be educated on how long to dry cannabis before curing.